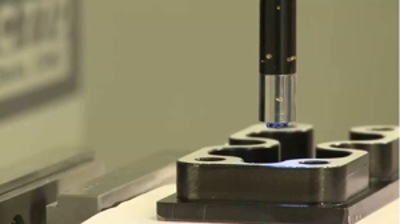
This video will show you how to get started turning your mill into a 2D scanning and measuring system using Tormach ScanCAD shareware with a cheap of-the-shelf USB Camera.

Getting started with CNC Scanner
In this video cnc machinist scans a component and then machine it.
Tells about various cameras which can be used for scanning purposes.
Tormach CNC Scanner Introduction
The Tormach CNC Scanner turns your PCNC into a high resolution 2D optical scanner and reverse engineering system. This is a unique tool has hundreds of uses, including toolmaking, artistry, repair and restoration, precision measurement, and quality assurance, to name a few.
How does Tormach CNC Scanner work?
CNC Scanner utilizes a Mach3 plugin to take a series of photographs where the camera is automatically positioned for each photograph with CNC motion. A dimensionally scaled photomosaic is then assembled by stitching photographs together to build a larger image.
After the photomosaic is assembled, it can be opened in Tormach CNC Scan CAD, a simple 2D CAD program with basic functionality for measuring distances and tracing shapes. This information can be exported as an industry standard .DXF file to other CAD/CAM programs for further work.
CNC Scanner uses a spindle mounted adjustable focus USB microscope camera that features our Tormach Tooling System® quick change mounting system. It is also compatible with any CNC mill that utilizes Mach 3 control software. Requires a spindle that is capable of holding ¾” shank, such as R8 or MT-3.
Source: tormach website
